Note: FreedX will handle the funds in your Futures balance according to your strategies and allocated percentage. So, if you don’t want FreedX to use some of your funds based on your TradingView signals, it’s better to have a separate Binance account or a Binance sub-account.
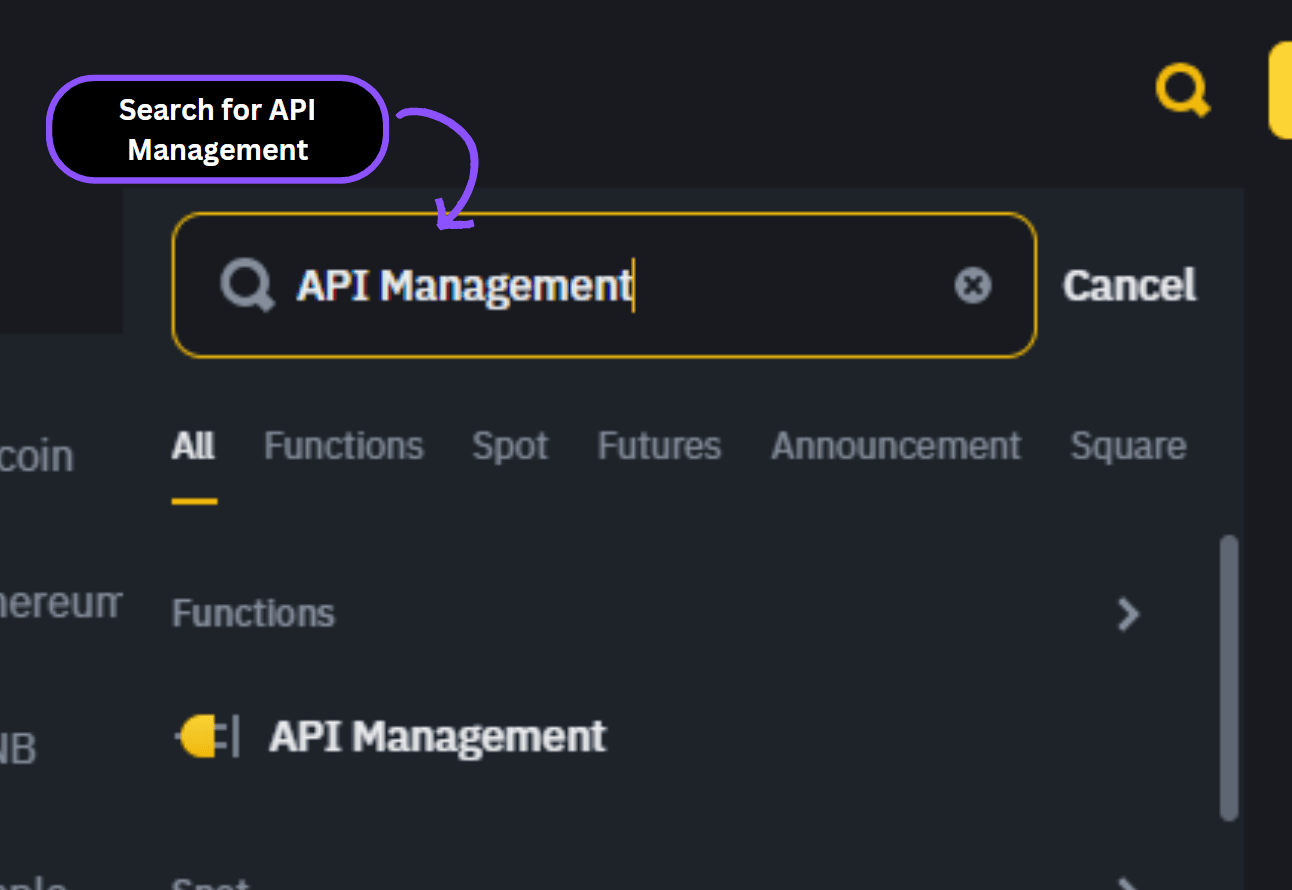
1. Login to your Binance account and type “API Management” in search bar.
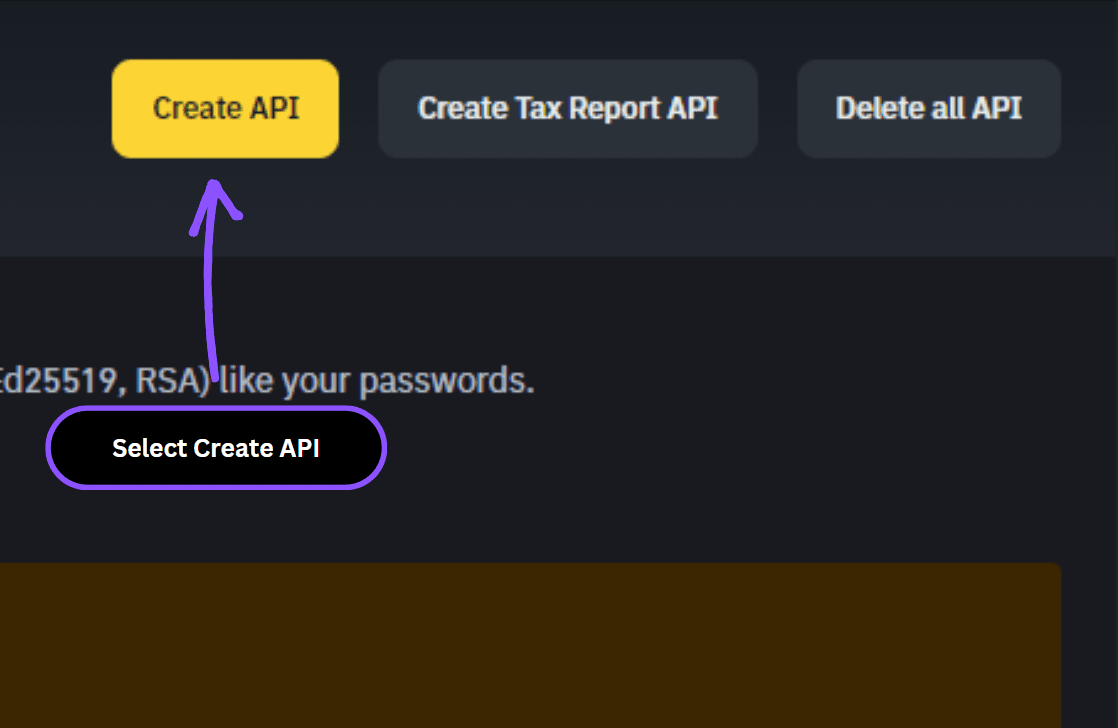
2. Select “Create API”.
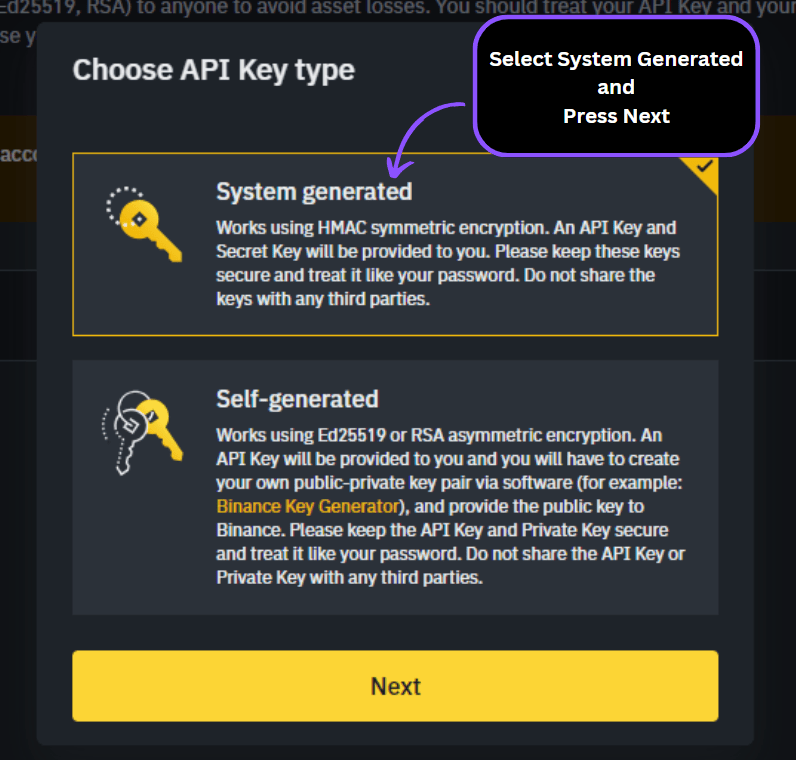
3. Select “System Generated” for API key type.
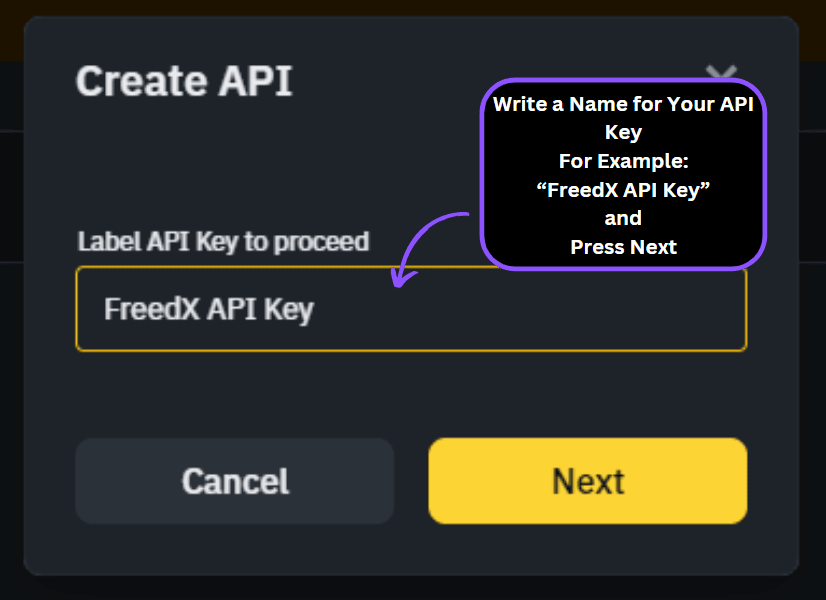
4. Crate a unique label for your API key. Recommended label: “FreedX API Key” and press “Next”.
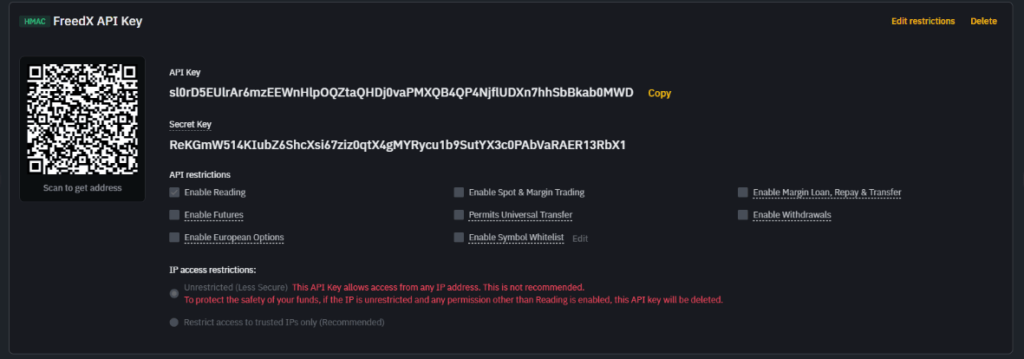
Your newly created API key will be displayed in your Binance account:
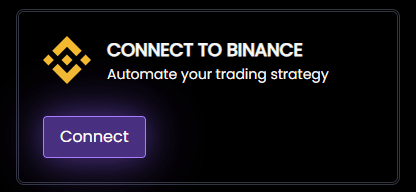
5. Go to your FreedX Dashboard in new tab and select “Connections” section and press the “Connect button.
You will see the “Connect Binance” form:
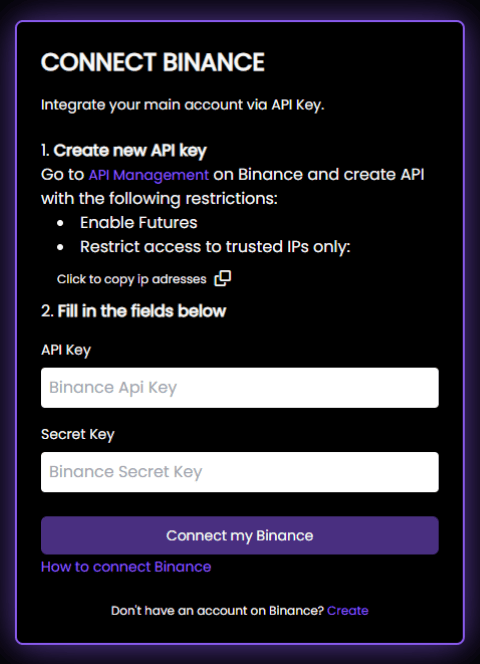
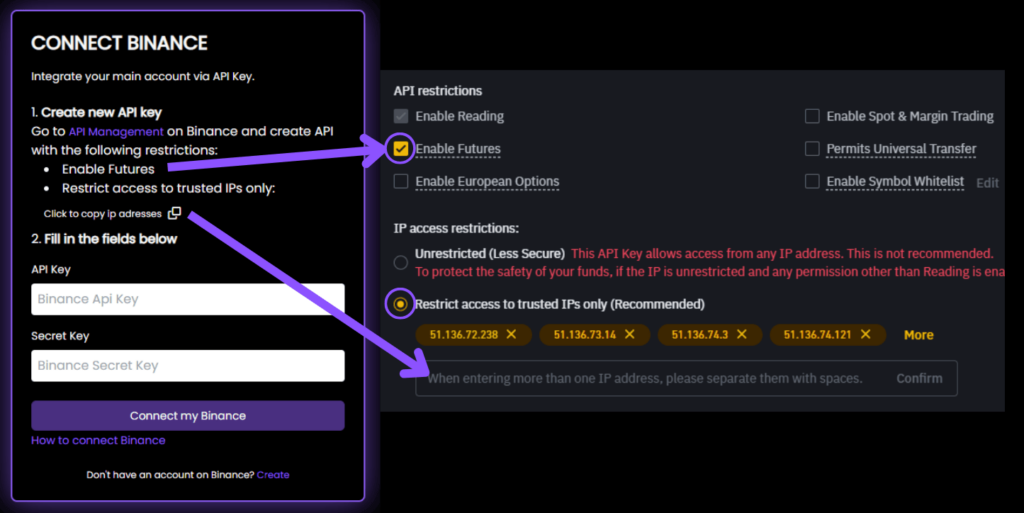
6. Fill the form according to your newly created API information in Binance

7. After you succesfully Saved your API information in Binance. Go to “Connect Binance” form you filled with API information then press “Connect my Binance” button.
❕ Your API key is kept securely in encrypted storage, and the only permission we need from you is the ability to place orders in your Binance account. We do not have the authority to withdraw funds, so you always maintain full control of your money.